Do you have your crochet blanket from childhood?
Have your grandparents or mother made one for you?
The warmth and love that comes from that crochet blanket are beyond words.
Do you want to make one for your grandparent to show them your love?
Then this article is for you because I will be discussing 10 ways to join granny squares.
Grab a cup of coffee and let’s start making a beautiful crochet blanket.
What are granny squares?
A granny square is a piece of square fabric that is produced in crochet by working from the center to outwards. You can make blankets, pillow covers, purses, or decoration pieces out of granny squares by stitching multiple granny squares together.
You can make a granny square with three or four rounds if you are making bigger squares. And then there are multiple ways to join them together.
How To Connect Granny Squares
We all know how it goes. You're flipping through Pinterest or Ravelry and you see the most beautiful afghan or blanket. It's huge and colorful and looks so soft. And then you realize that it's a granny square blanket. Thousands of little squares, all put together. You think to yourself, “I could never do that. I don't know how to attach granny squares.” But then you take a closer look at the pattern and decide to give it a go anyway…and before you know it, your living room is covered in crochet squares! If this has ever happened to you, don't worry – we're here to help!
Connecting crochet squares is easier thank you think!
You've finally finished all those granny squares, and now it's time to join them together into one big afghan. But what do you do when they're all done? How do you join them together so they don't unravel? Never fear, following these simple steps will have you joining granny squares like a pro in no time. Check out these unique ways to join granny squares and find the perfect technique for your project!
Then, decide which method you want to use to connect your granny squares. You can either stitch them together with a needle and thread or use a crochet hook to join them as you go. Once you've decided on your method, it's time to start joining those squares!
Granny squares are a crochet classic. They're simple to make and can be used to create all sorts of different projects. While there are many ways to join granny squares together, some methods are more unique than others. In this blog post, we'll take a look at some of the most interesting crochet joining techniques. So whether you're a beginner or an experienced crocheter, you'll find something new and exciting here!
So let's have a look at the best methods to connect granny squares:
10 Easy Ways to Join Granny Squares
-
Celtic Lace Join
This is a very elaborate and beautiful design. Though it looks tough to do once you start working on it, it becomes easy and all the four squares are joined with a beautiful center.
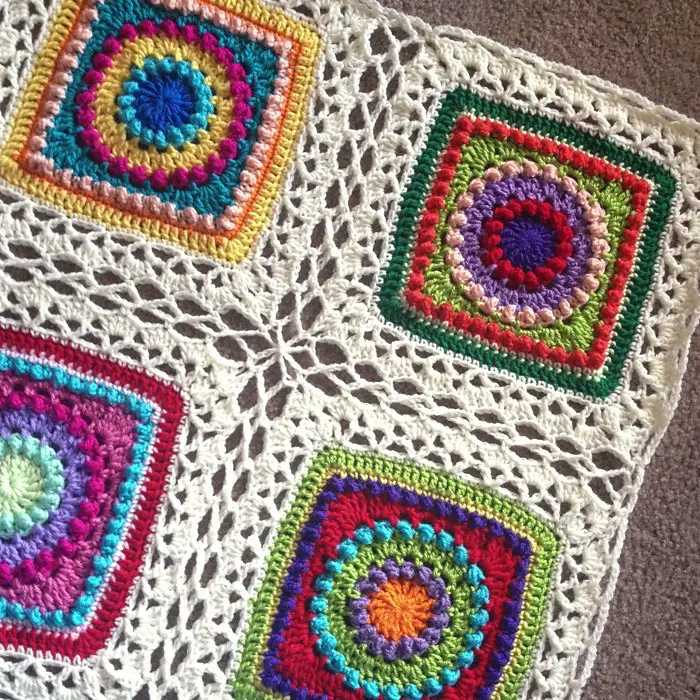
Watch the tutorial for Celtic Lace Join
-
Mattress Stitch Seaming
It is a vertical seaming technique that creates an invisible join. It is more like sewn rather than crocheted. You can also try this method for joining knitted granny squares.
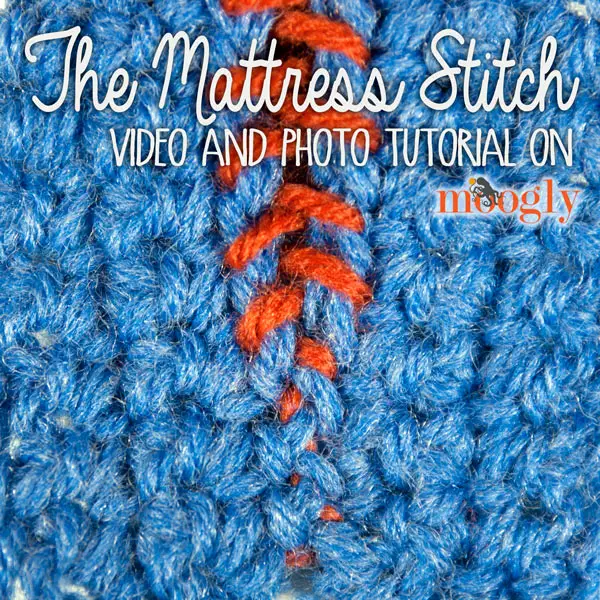
Watch the tutorial for Mattress Stitch
-
Flat Braid Join
Flat Braid Join is a simple and beautiful joining technique. You can do it for special projects because the twisted knots give a very pretty look to the joints.
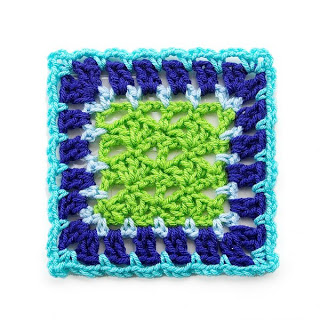
Watch the tutorial for Flat Braid Join
-
Scallop Join
It is similar to Flat Braid join but just that you don’t drop lp from hook and pick it up again. It is much simpler as it does not involve the twisted look of Flat Braid join.
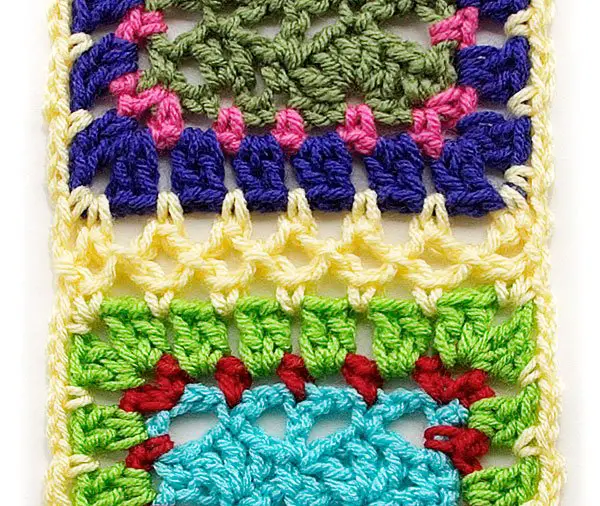
Watch the tutorial for Scallop Join
-
Simulated Braid Join
It is a little bulky design and involves more skill to get them done properly. You can join pre-edged blocks together.

Watch the tutorial for Simulated Braid Join
You May Also Like:
- How To Slip Stitch
- Invisible Stitch Join Method
- Zigzag Slip Stitch Method
- How To Attach Granny Squares With Cable Stitch- It’s Easier Than You Think!
-
Dudessembly Join
This technique is mostly used for large motifs and to put together larger crochet patterns together.
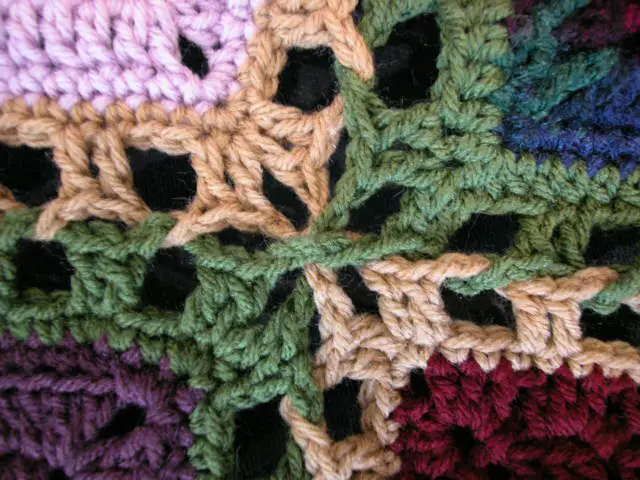
Watch the tutorial for Dudessembly
-
Flat Zipper Method
The zipper method looks longer than other joining methods. It joins the crochet granny squares in a way that you are zipping them together.
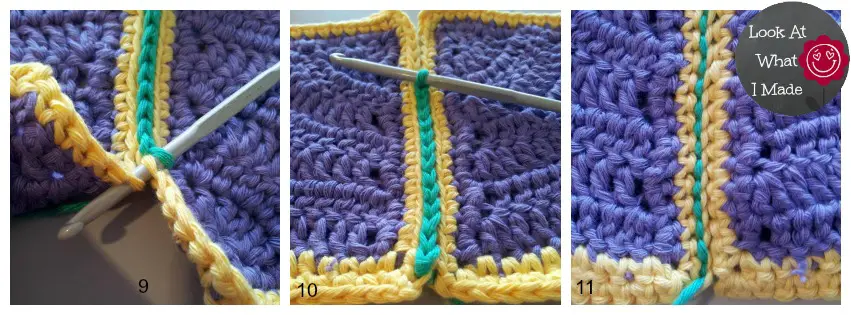
Watch the tutorial for Flat Zipper Method
-
Tight Braid Join
The Tight Braid Joining method is very similar to the Flat Braid Join, just a difference is that it is tighter and closer and not as lacy as Flat Braid Join.
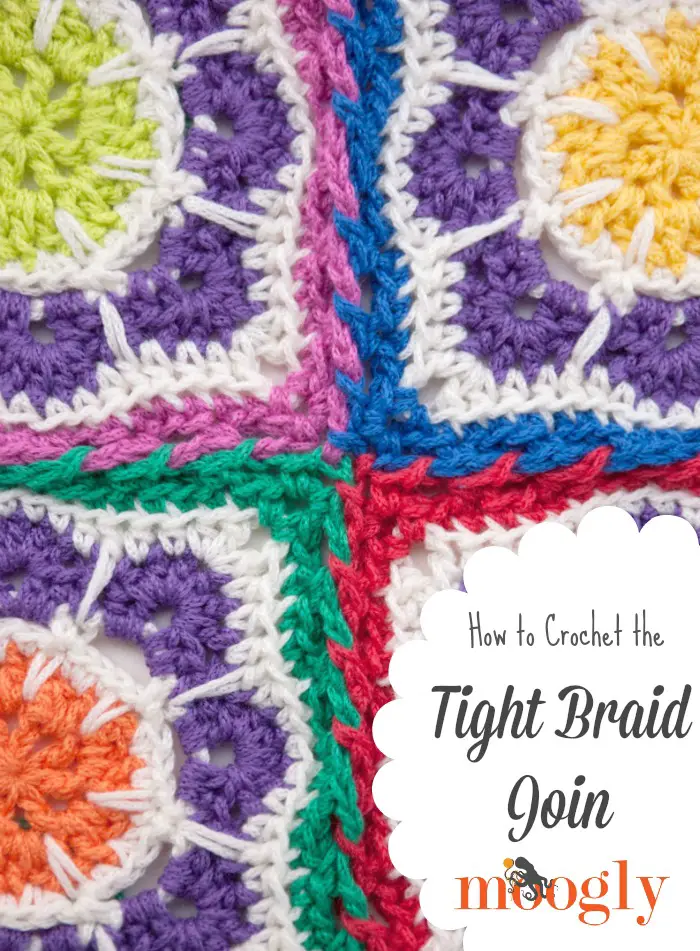
Watch the tutorial for Tight Braid Join
-
Continuous Join Cluster Style
It is a continuous no-hook out join and the end result is so pretty.
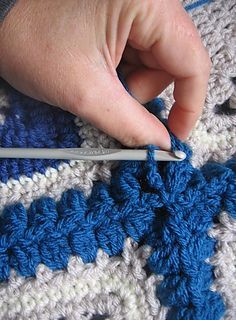
Watch the tutorial for Continuous Join Cluster
-
Join-as-you-go (JAYGO)
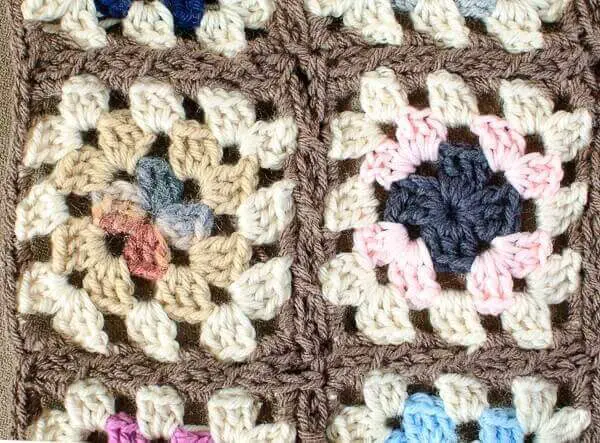
In the JAYGO method, you don’t have to first finish all the motifs and then join together, but you keep on joining while doing your last round on each square.
Watch the tutorial for Join-as-you-go Join
There you have it! Now you know how to join granny squares like a pro. You have so many beautiful designs to join your granny squares and make a beautiful blanket or pillow cover for your loved ones. So get out there and start stitching those babies together into one big, beautiful afghan.
Don’t forget to subscribe to our newsletter to receive awesome free crochet patterns, just like this, delivered straight to your inbox every day
