Are you looking to crochet a hat but don't know where to start? This beginner's guide will show you how to crochet a hat using basic stitches. You'll be able to make a warm and stylish winter hat in no time!
Crocheting is an art that has been passed on from generation to by our mothers, grandmothers, or else. It is basically the pulling of yarn loops through parallel yarn loops with the help of a hook. The basic skill is to know the four main types of crochet stitches to make hats which include the chain, single and double crochet, and the slip stitch.
Grab your yarn and your crochet hook and get ready to start your little crochet project. There are a few simple steps to follow when making a basic beanie and you're about to learn what these are. Following is a step-by-step guide on how to crochet a hat for beginners.
How To Crochet A Hat For Beginners
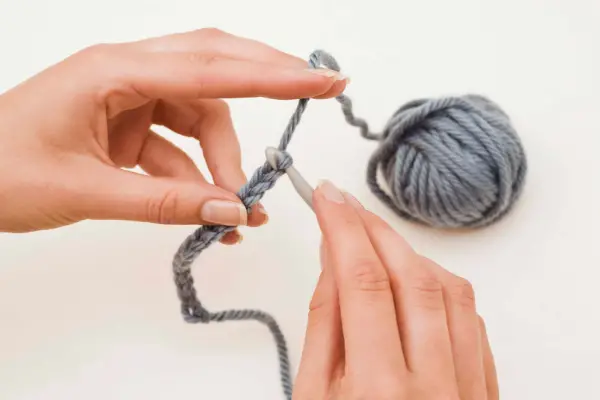
Step 1: Foundation Chain
The foundation chain revolves around only a few stitches; because the main base comes along in the next step. The foundation chain is a series of chain stitches beginning with a slip knot and can be started with as little as three stitches. The tighter your foundation stitches, the better the hold. The foundation chain it's also called the starting chain.
Step 2: First Round
Work other stitches into the foundation chain. These other stitches may single crochet, double crochet or other crochet stitches depending on the pattern you chose for your beanie.
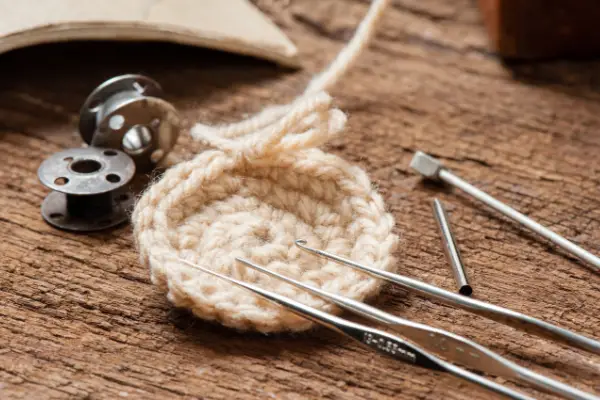
Step 3: Build the Crown
For the crown of your hat, add more rows and increase the number of stitches in each row to create a circular mat. Most hats are crocheted in the round that means that you will need to continue to crochet in a spiral.
When choosing your hat pattern keep in mind that double crochet stitches are taller than simple crochet stitches. That means you'll work your hat much faster if your pattern uses double crochet stitches.
Step 4: Sides of Hat
After you made the crown of the hat, you need to crochet the sides of the hat. To create length for the sides of your crochet hat, meaning to ensure the proper height of the hat, repeat the rows till you get your desired length. The trick is to keep the same width, but the desired length. Congratulations: the basic hat is ready!
Step 5: Finishing Touches
Once you know how to make a basic beanie as a base you can now decide to add (if needed) earflaps, brim for the cloche, ruffles or a visor for the newsboy cap. It's easy and here's a simple tutorial that show you how to do this: How to Crochet a Hat For Beginners Any Style Any Size
Tips on How to Crochet a Hat for Beginners
For beginners, there should always be an easy way to start crocheting and learning the crochet stitches. For instance, the start should always be from a single crochet stitch and of a simple pattern. The easy way is to follow a tutorial on YouTube. Just type ‘How to crochet a hat for beginners’ and follow the videos. Keep in mind that sometimes tactics for left-handed people differ. Try to use a light-colored yarn for the starter, as it makes the stitches more visible to you. Keep another yarn of a different color to mark the start stitch of each round.
How much time can it take for a beginner to crochet a hat?
This depends wildly on how much effort and practice a beginner has been putting in for crocheting, and how many stitches he or she knows. Normally, for experts, it takes a single day or two to complete a crochet hat but for beginners, it can take a week or two. Beginners can have trouble with the crown rounds, and even in the finishing stages of a hat which adds to their time. In short, we can say that the more you spend time crocheting, the better you get and the lesser time you need to crochet a hat.
Watch the video tutorial below and follow along to crochet your first beanie hat. It's simple, it's fun and you're in good hands!
How to Crochet a Beanie Hat for Beginners Video Tutorial Step-by-Step
Happy Crocheting!
Don’t forget to subscribe to our newsletter to receive awesome free crochet patterns, just like this, delivered straight to your inbox every day!