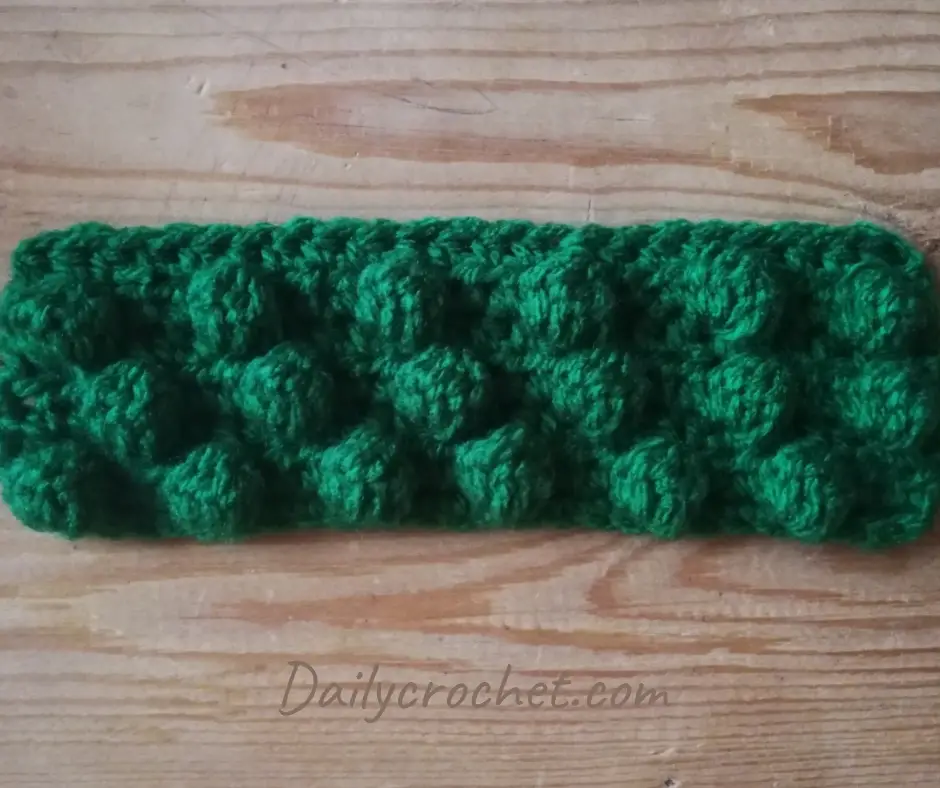
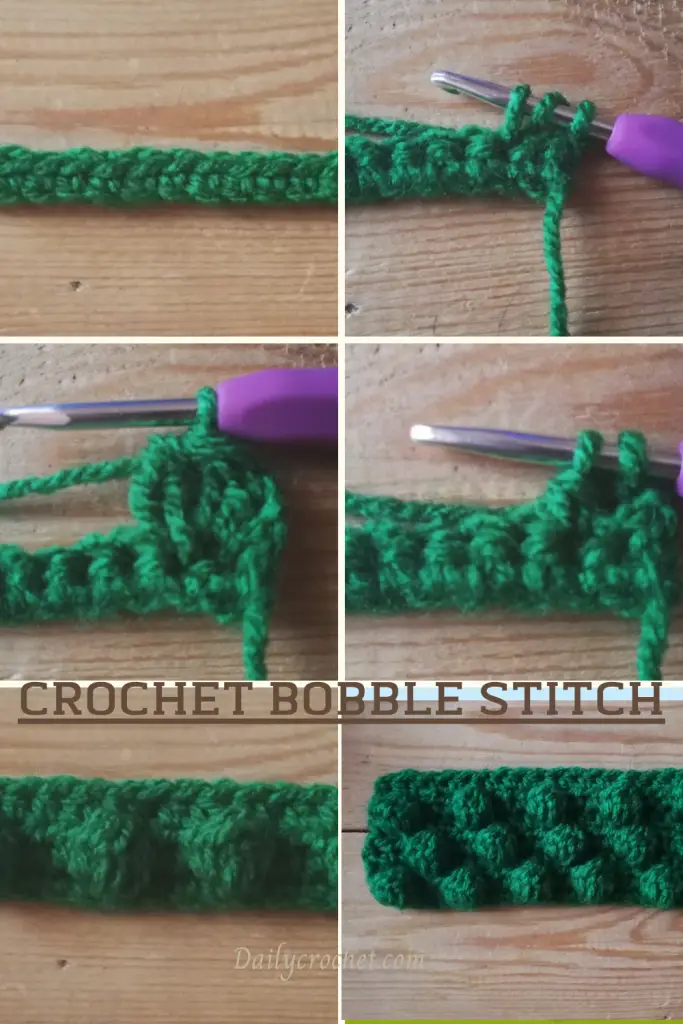
Bobble Stitches! Bobbles are the newest craze in crocheting. You’ve probably heard of them, but do you know how to make your own?
Today we are going to learn how to make these bobble stitches. Bobbles can be a lot of fun and they're actually easier than you might think! They look like they took hours of work (when really it only takes minutes!).
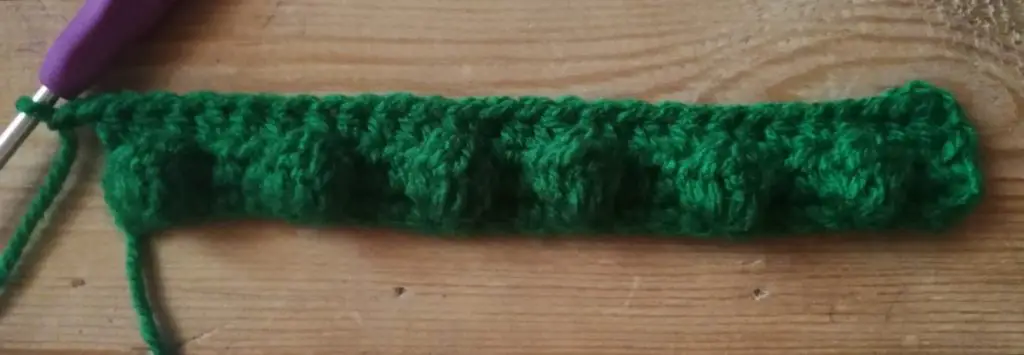
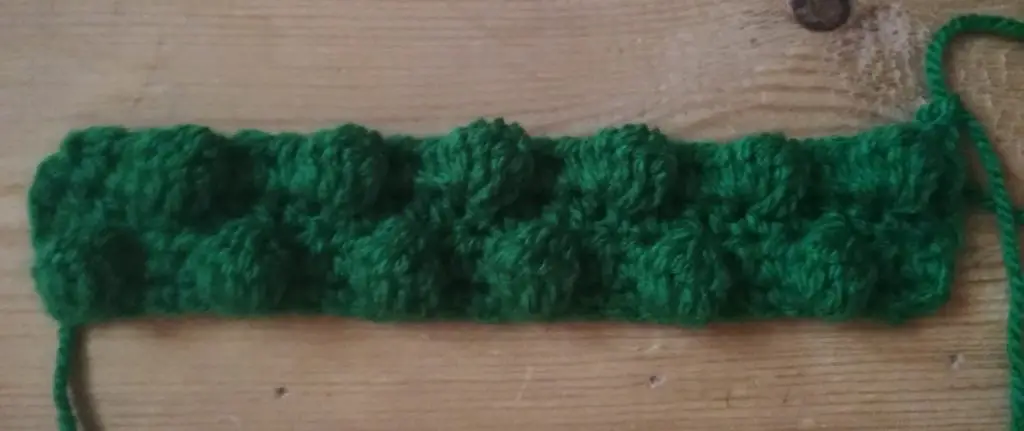
On the front side, your piece will have puffy bumps that stick out just enough so it's not too plain; but on the backend -it'll look nice and flat.
How To Crochet The Bobble Stitch
Have you ever seen a crochet bobble stitch and wondered how it's done? Wonder no more! This tutorial will show you how to crochet the bobble stitch using written instructions and photos. The best part? It's a great stash buster! So grab your crochet hook and get started!
Difficulty Level
- Easy to Intermediate.
Materials
- Yarn: any DK weight yarn.
- 3mm crochet hook.
- Tapestry needle.
Abbreviations
This pattern is written using standard US crochet terminology.
- Ch = Chain(s)
- Sc = Single Crochet
- Hdc = Half Double Crochet
- St(s) = Stitch (es)
Stitch conversion table (UK/ US):
| UK | US | ||
| Chain | Ch | Chain | Ch |
| Double | Dc | Single | Sc |
| Half treble | Htr | Half double | Hdc |
Pattern notes:
- The finished size and the amount of yarn used may vary depending on the individual's gauge.
- If you want to change the final measurements, you can increase/decrease # of starting chains and # of rows until reaching the desired length & width.
- Ch2 at the beginning of each row counts as first st.
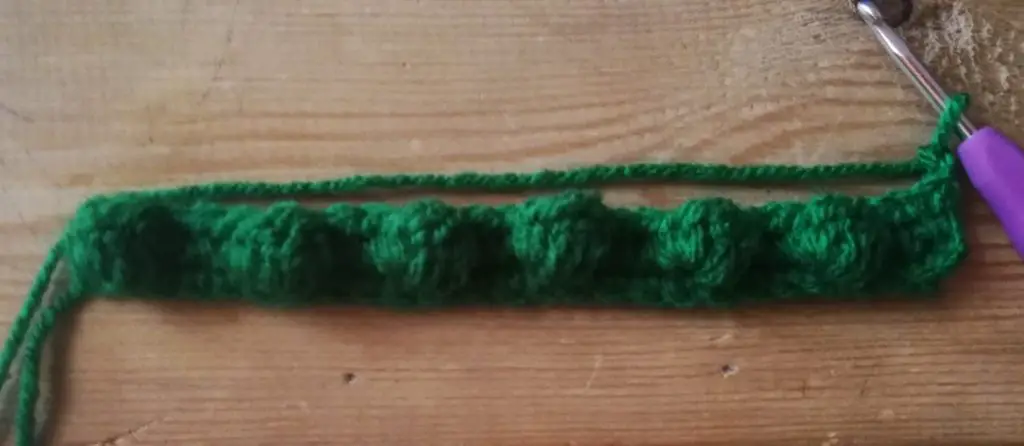
- Crochet bobbles are created while crocheting on the wrong side.
Instructions
Start with ch 27. [Multiples of 4 +3 (as a height)]
Row 1: sc in the 3rd ch from hook, sc across until the end.
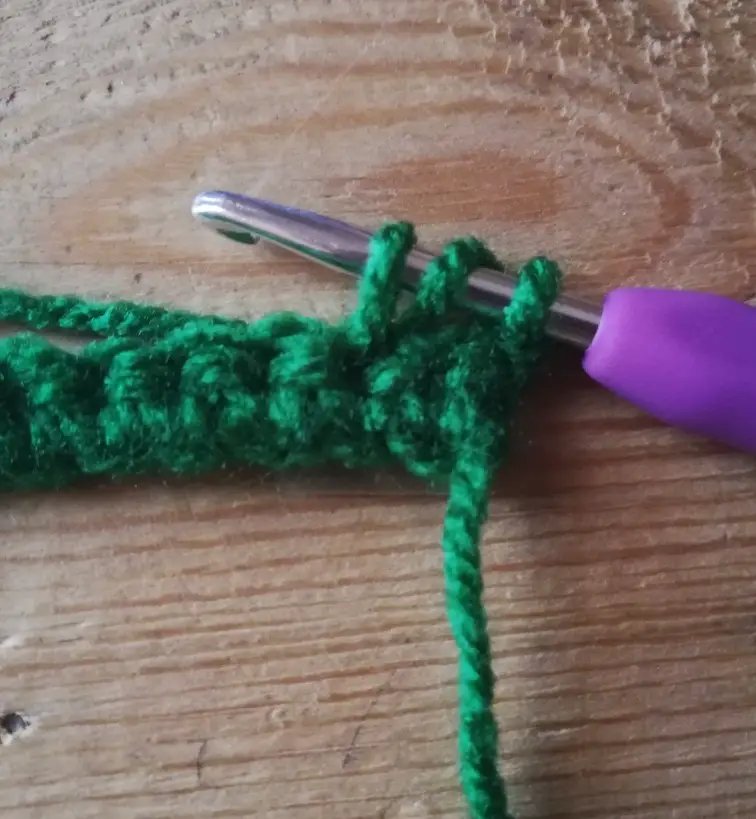
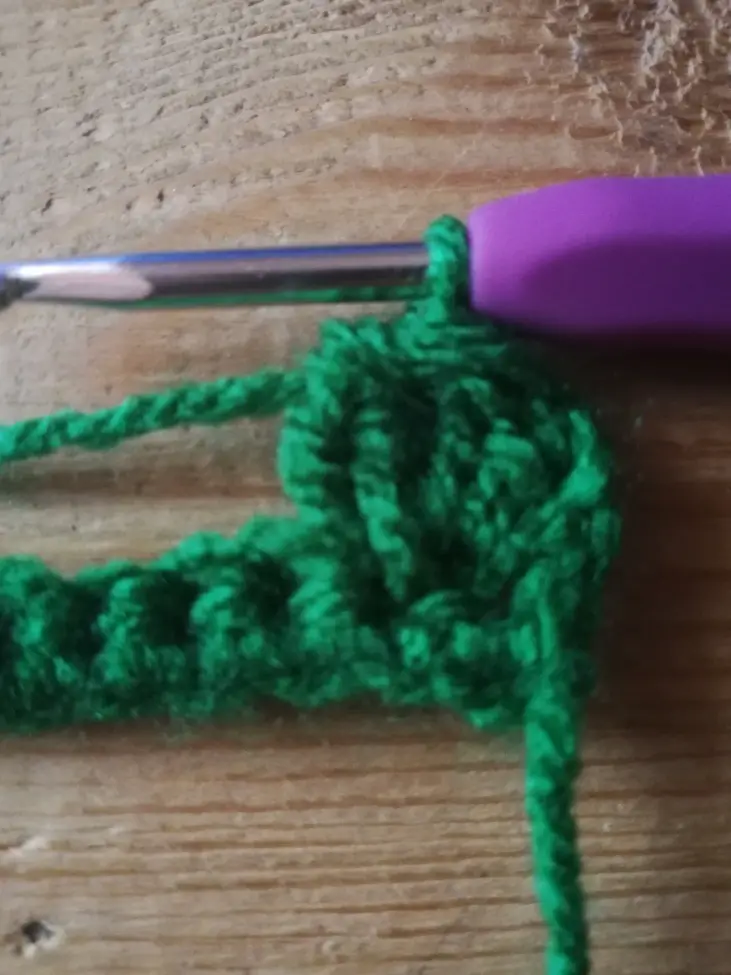
Row 2: ch2, turn, **yarn over, insert hook in the next st, and pull up a loop (3 loops on your hook).
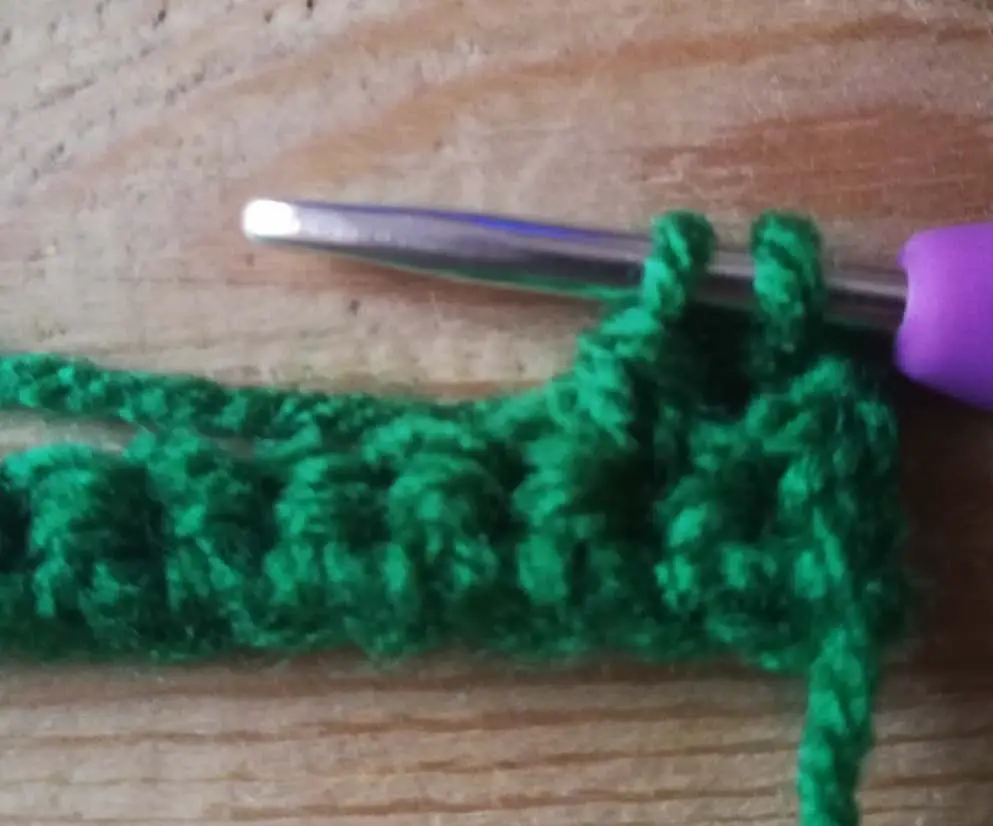
yarn over, pull through 2 loops (2 loops on your hook).
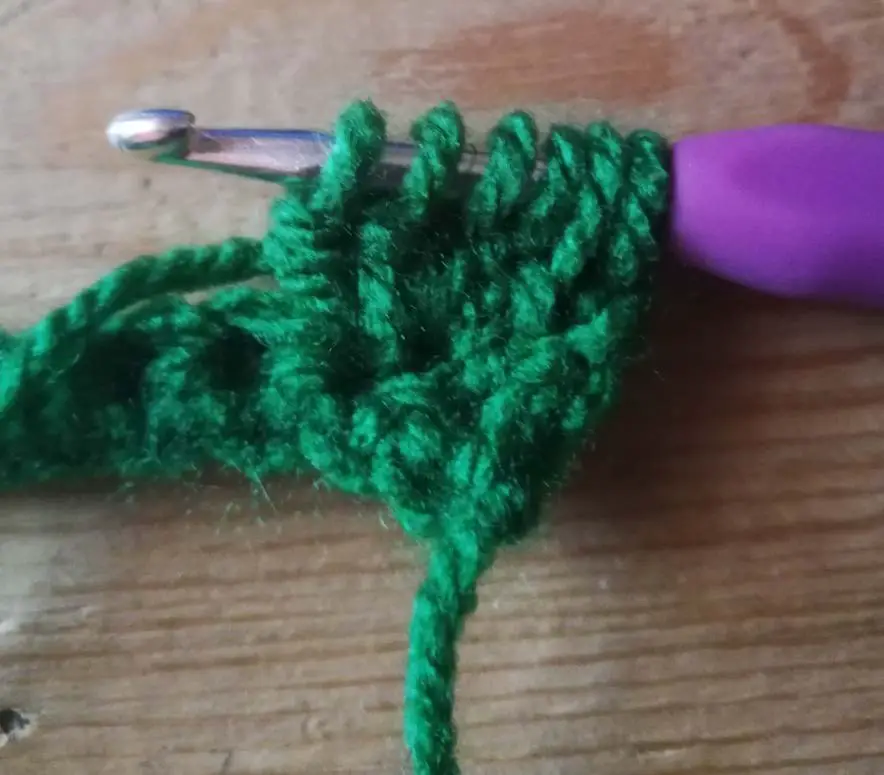
*yarn over, insert hook in the same st, pull up a loop (4 loops on your hook), yarn over, pull through 2 loops* (3 loops on your hook), repeat * until you have 6 loops on your hook.
Yarn over, pull through all loops.
sc in the next st, hdc in the next 2st**, repeat ** until reach the last st, hdc in the last st.
Row 3: ch2, turn, hdc across the row.
Row 4: ch2, turn, hdc in the next 2st, * yarn over, insert hook in the next st, and pull up a loop (3 loops on your hook), yarn over, pull through 2 loops (2 loops on your hook), *yarn over, insert hook in the same st, pull up a loop (4 loops on your hook), yarn over, pull through 2 loops* (3 loops on your hook), repeat * until you have 6 loops on your hook, Yarn over, pull through all loops, sc in the next st, hdc in the next 2st*, repeat * across the row until reaching the last 3st, yarn over, insert hook in the next st, and pull up a loop (3 loops on your hook), yarn over, pull through 2 loops (2 loops on your hook), yarn over, *insert hook in the same st, pull up a loop (4 loops on your hook), yarn over, pull through 2 loops* (3 loops on your hook), repeat * until you have 6 loops on your hook, Yarn over, pull through all loops, sc in the next st, hdc in the last st.
Row 5: repeat row 3.
- Repeat rows from 2 – 5 until reaching the desired length.
Fasten off, Weave in all ends.
Save the Crochet Bobble Stitch Pattern for Later and Pin It to Pinterest
-
Click here to download the Crochet Bobble Stitch pdf
