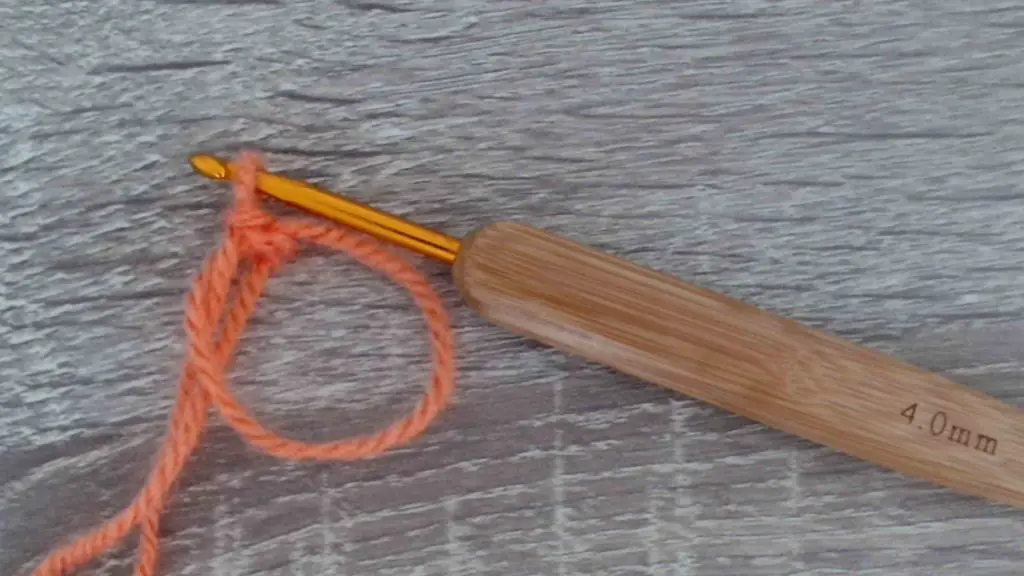
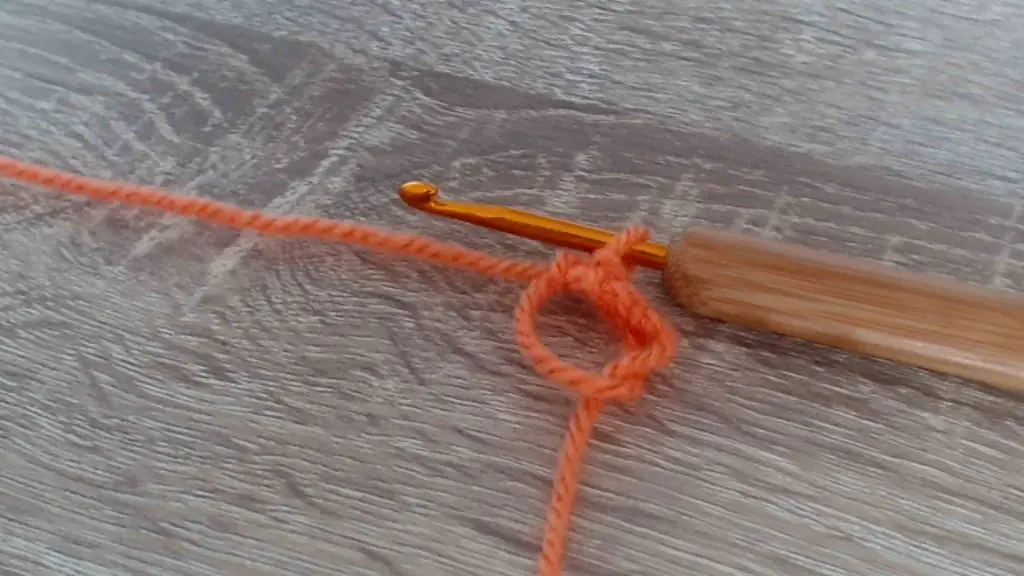
A magic ring is a crocheting technique that allows you to make a small, tight ring of stitches without using a physical ring or hoop. The magic ring is known also as the magic loop or magic circle.
The magic loop is a versatile technique that can be used to make everything from hats to amigurumi dolls. The magic loop is created by first crocheting a loop of yarn. The loop is then pulled tight, creating a small ring. From here, the crocheter can work their crochet stitches into the ring, slowly expanding the size of the project.
Can beginners use the Magic Ring method?
The beauty of the magic loop is that it allows crocheters to create projects without having to start with a long chain of stitches. As a result, it is a great technique for those who are just learning how to crochet.
With a little practice, anyone can master the magic loop and create stunning projects.
How do you make a magic ring?
Crocheting a magic ring is one of my favorite techniques because it eliminates that pesky hole in the center. You can make any round into an adjustable loop with this method, which means you won't get those unsightly gaps where your work meets its end product!
I love using the Magic Ring method when crocheting in rounds; not only does it prevent unproductive holes but also saves time by eliminating the need for extra sewing or finishing measures like some crochet projects do.
The Magic Ring Method
The benefits of using a magic ring in crocheting projects are numerous. First and foremost, it creates a more solid foundation for your work, which is especially important when crocheting in the round.
Additionally, it helps to keep your stitches tight and prevents any unsightly gaps from forming in your work. Lastly, it's a great way to start off a new project, as it eliminates the need to sew together the first few rounds.
There are many different ways to crochet a magic ring. In this article, we will explore one of the most popular methods. This method is simple and easy to follow, and it produces a solid foundation for your crocheting projects. So let's get started!
How Do You Make a Crochet Magic Ring
The magic ring crochet technique is used to start a round of stitches without having to chain.
Magic rings are a versatile tool that can be used in a variety of different crochet patterns. Whether you’re looking to create an adjustable ring or a spiral pattern, a magic ring is a great way to get started.
How to Crochet the Magic Ring with an Adjustable Loop (Photo Tutorial)
The magic ring is a great way to start crocheting in the round. It’s simple to do and ensures that your stitches are evenly distributed.
Follow these steps to crochet the perfect magic ring:
Step 1: Make a loop with your yarn.
Step 2: Insert your crochet hook into the loop.
Step 3: Wrap the yarn around the hook.
Step 4: Draw the yarn through the loop.
Step 5: Yarn over and pull through both loops on the hook.
Step 6: Repeat steps 4-5 until you have the desired number of crochet stitches.
Step 7: Cut the yarn, leaving a tail, and pull the tail through the last stitch to close the ring. Cut off any excess yarn and weave in the end to secure.
Congratulations! You’ve now learned how to crochet the perfect magic ring!
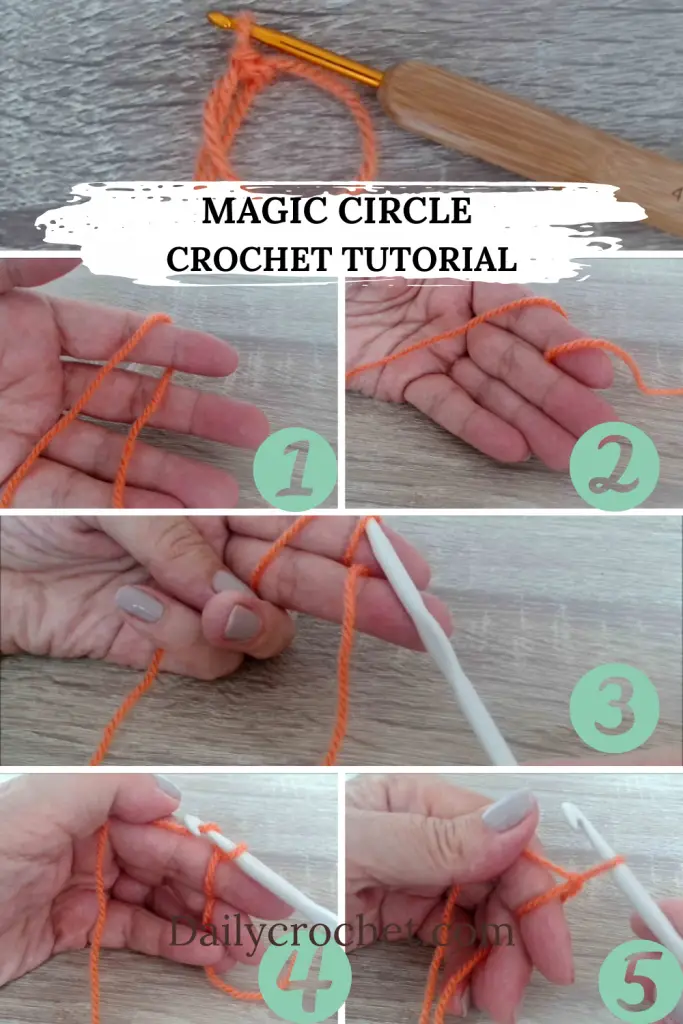
How to Make the Magic Ring Step by Step
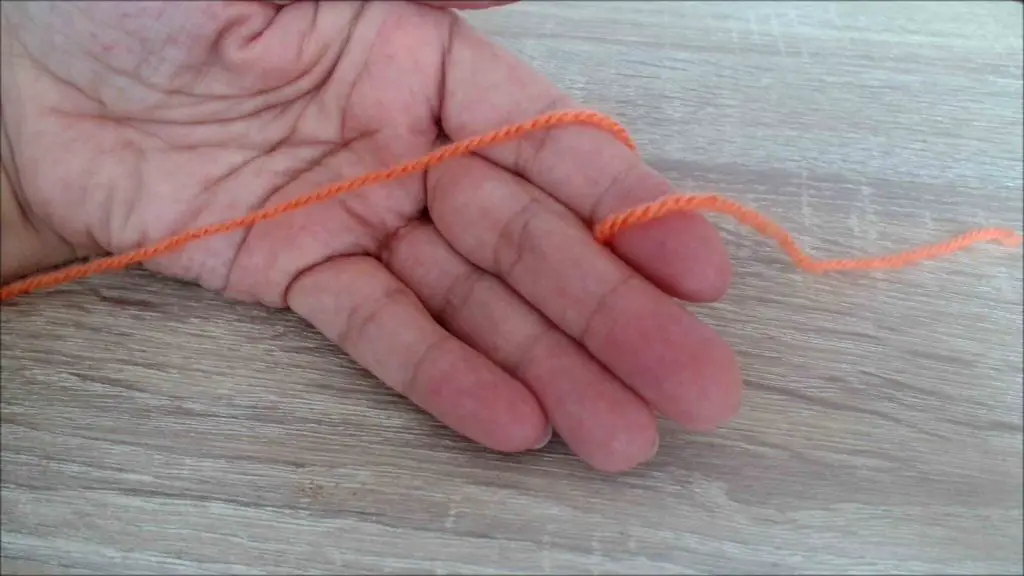
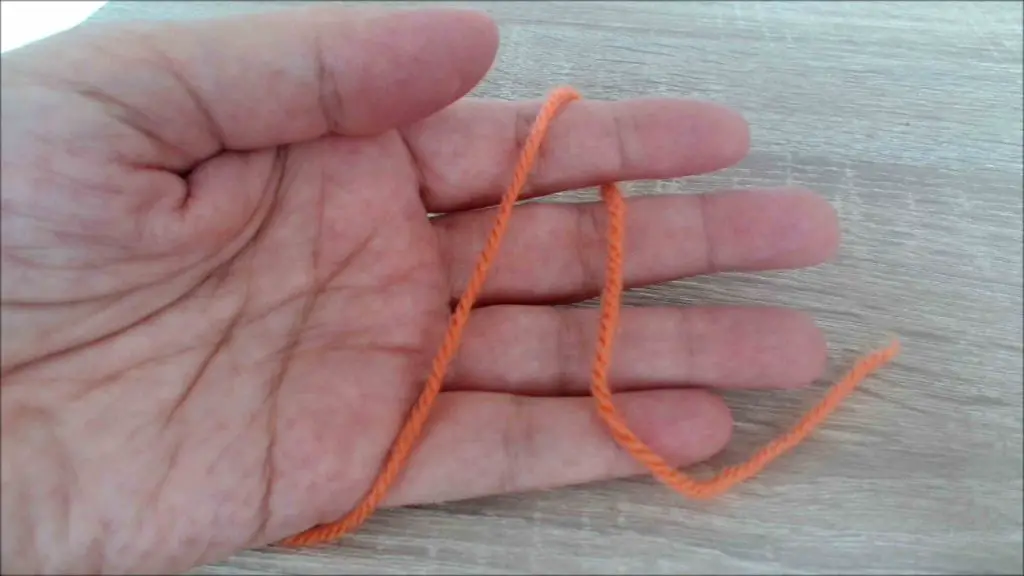
To make a magic ring, you will need to twist your working yarn around your fingers to create a small loop.
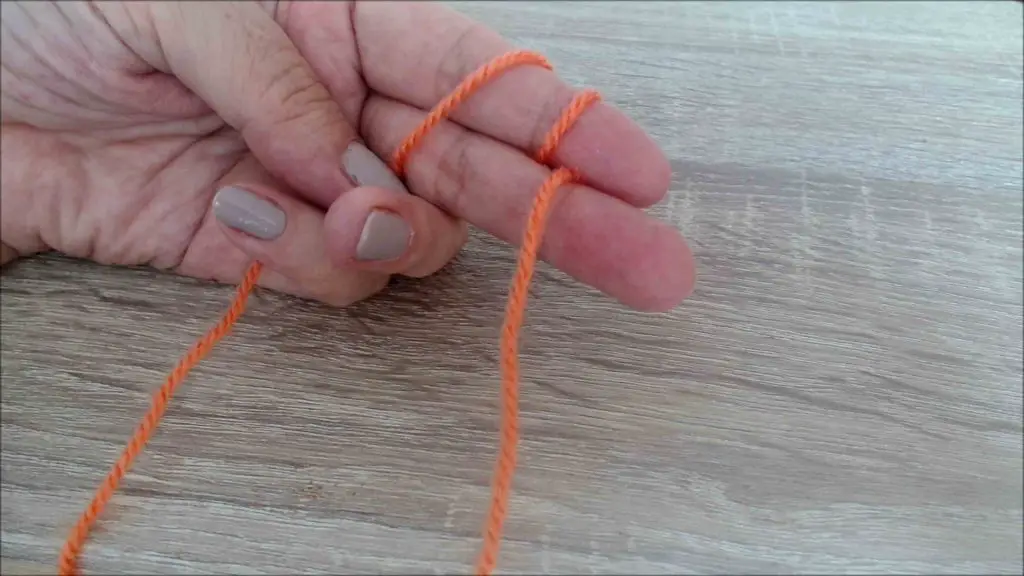
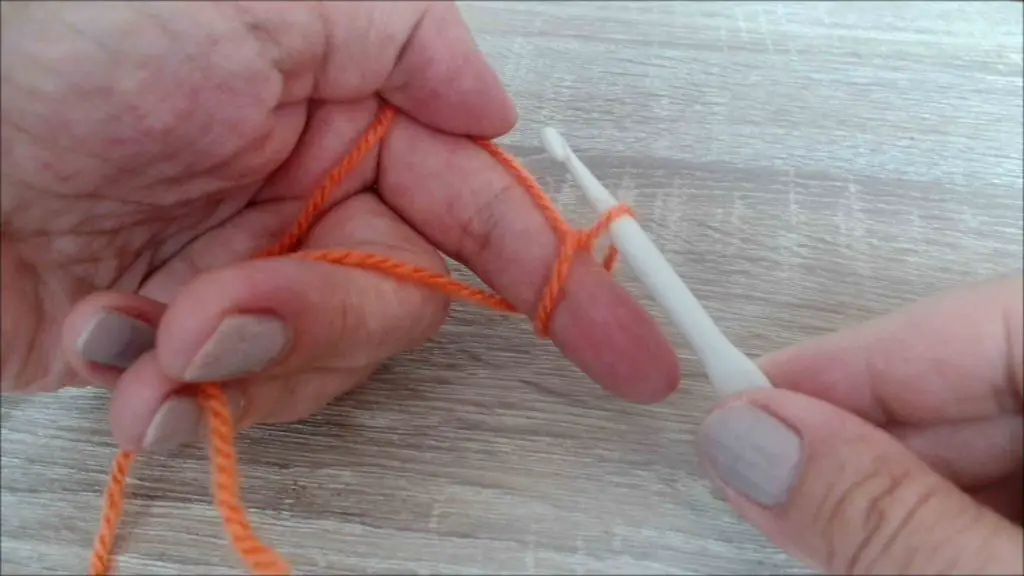
Looping the end of your yarn over the back of your forefinger, you leave a little tail before wrapping the yarn around your finger towards the palm of your hand. Make sure not to wrap it too tightly!
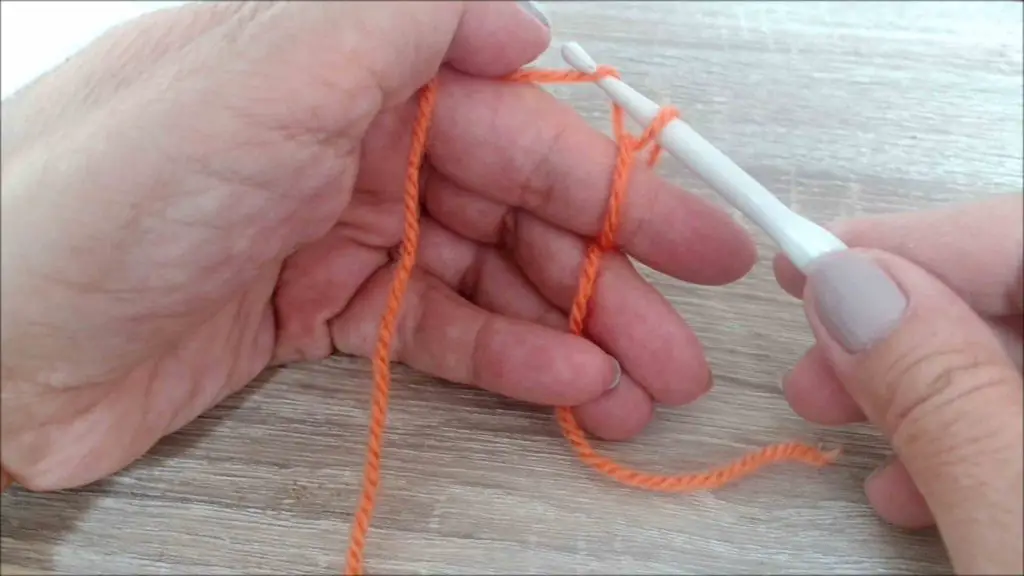
You'll want to be able to slide the loops off your finger easily when you're finished. leaving about an inch of space between each loop. You should now have a series of loops on your forefinger with a little tail hanging off the end.
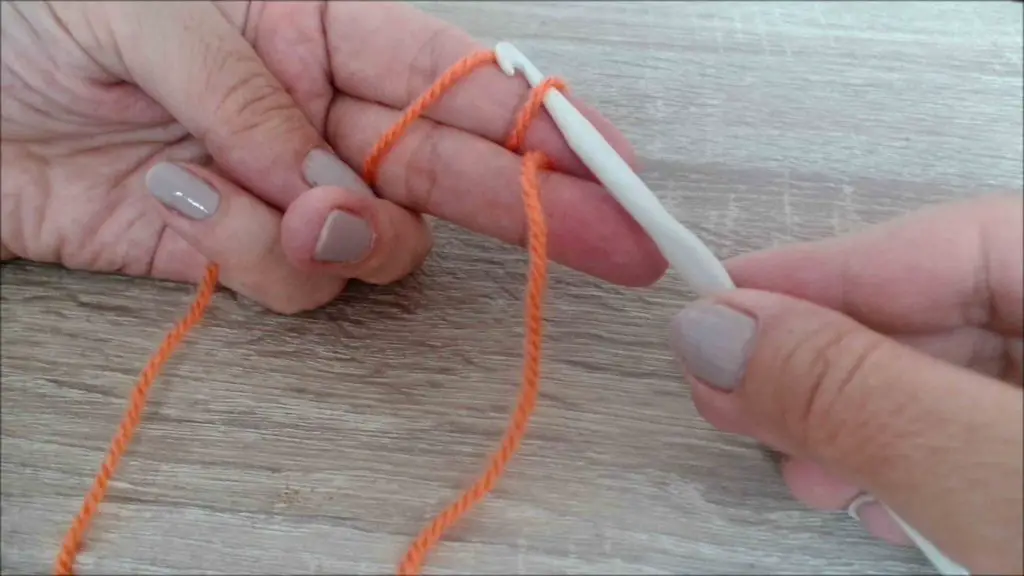
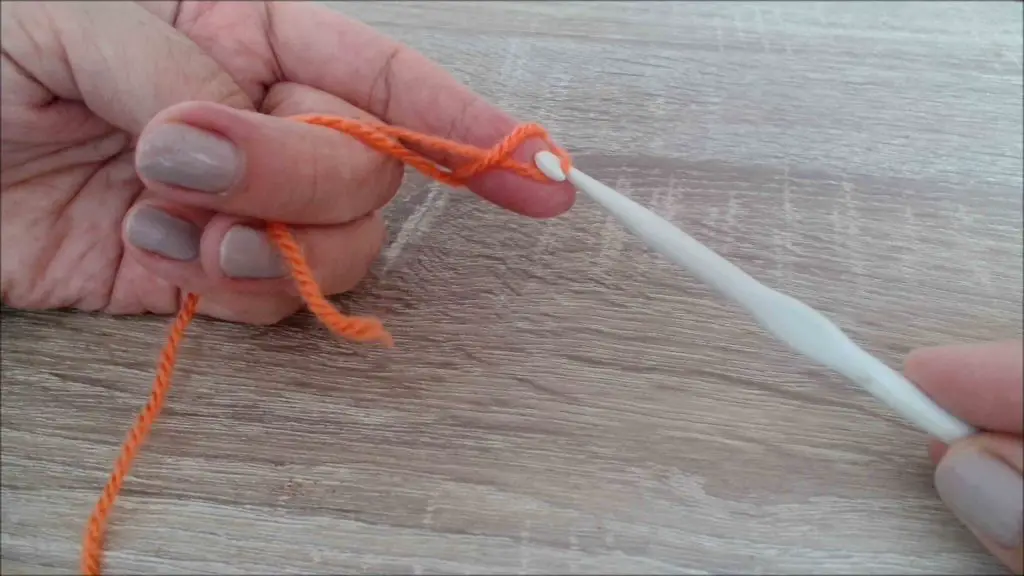
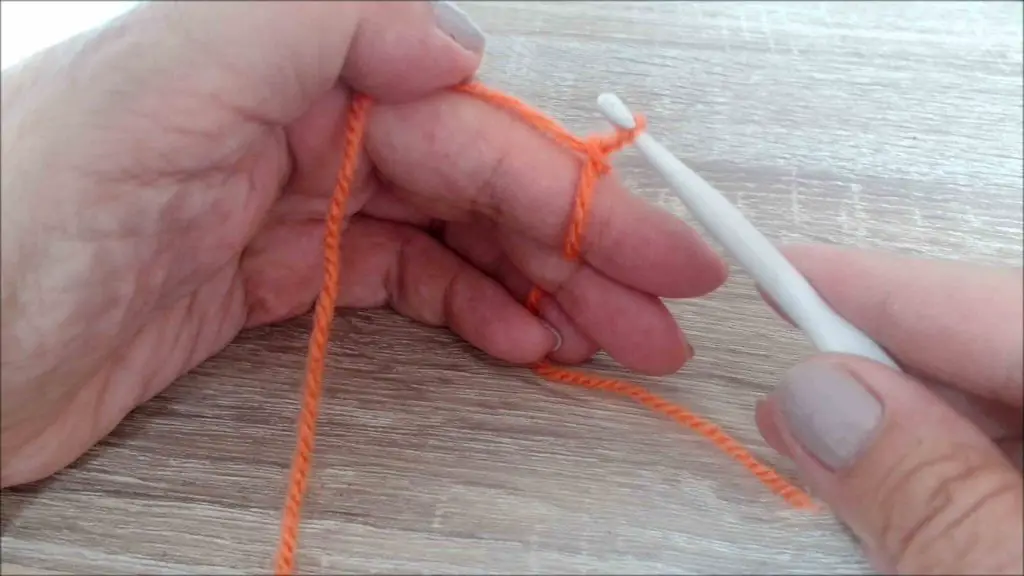
Once you have inserted your hook, yarn over and pull the yarn through the loop on your finger. This will create a new loop on the hook. Now, yarn over again and pull the yarn through both loops on the hook. You have now completed a crochet stitch! This creates your slip stitch in that magic ring and you're ready to work more crochet stitches into that magic ring. 
How to Finish the Magic Ring Correctly
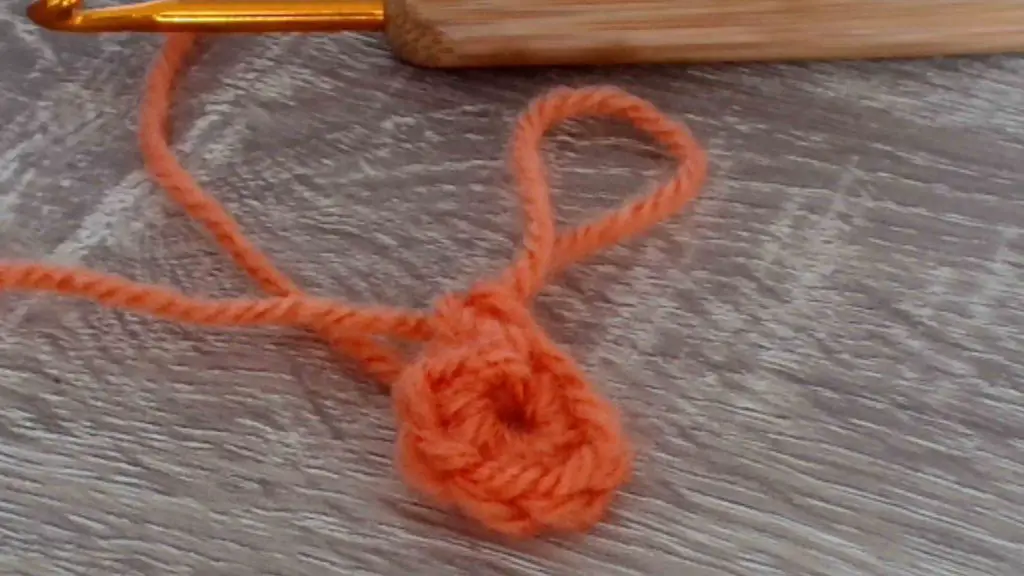
Finishing the magic ring correctly is simple. After you have crocheted the required number of stitches, pull the tail end of the yarn to close the ring. Cut off any excess yarn and weave in the end to secure.
You can use any type of crochet stitch with the magic ring, including single crochet or double crochet stitches. The key is to make sure that your last stitch is worked into the first stitch of the round, not into the space created by the magic ring. This will help to close the hole in the center of your work. With a little practice, you'll be able to create beautiful and seamless projects using the magic ring technique.
Magic Ring Tutorial
Happy Crocheting!
Don’t forget to subscribe to our newsletter to receive awesome free crochet patterns, just like this, delivered straight to your inbox every day!
